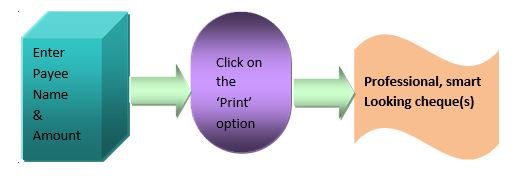
This is the process through which cheques can be printed quickly, smoothly and accurately. It gives the cheque a smart and professional look.
In order to do so, a quick initial setup has to be done. The user has to create the account(s), the desired cheque formats and the cheque books.
Once this is done, the system is ready to print cheques in no time. The user just needs to enter the payee name and amount and click on the print option. Within seconds, the printed cheque is ready for use.
Screen wise – Initial Setup & Cheque Printing
There are three steps involved in the initial setup of the software. Once this is done, cheque printing is a simple one step process.
Each step has been explained in brief below:
Note : Each step is explained in details in the subsequent sections.Initial Setup
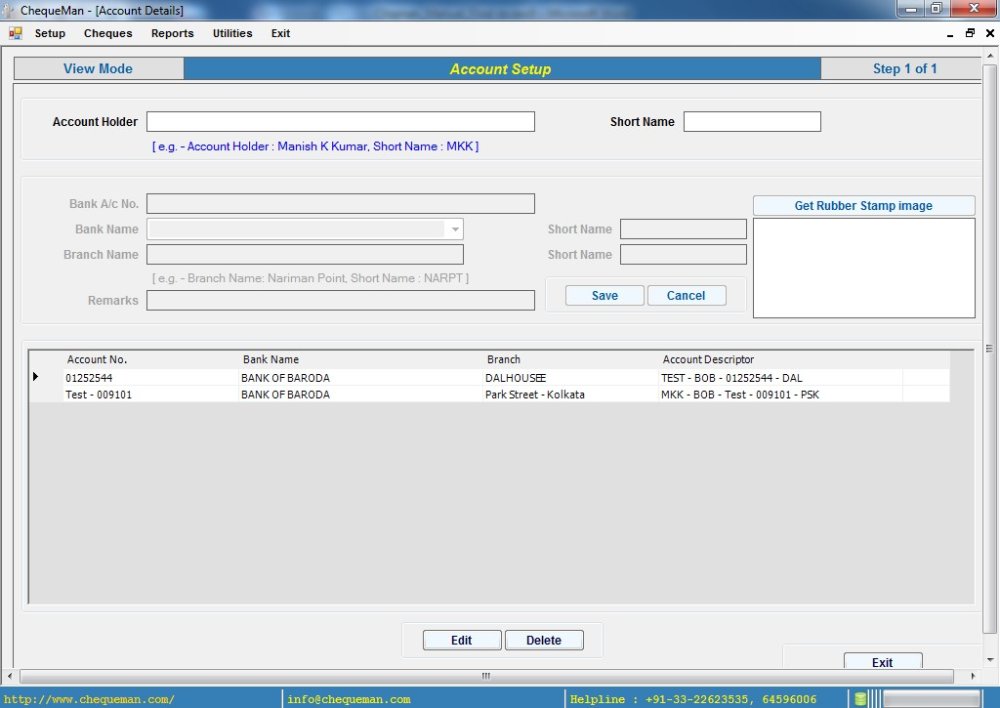
1. In the Account Setup screen the user has to enter the details of the Account Holder along with the corresponding bank accounts. Every account holder should have at least one bank account.
2. The user has to setup the design of the cheque leaf as per the cheque book that has been provided by the bank. This is done through Cheque Design Template.
3. The user has to define the Cheque Book, which contains the cheque leaves, before printing of cheques can be started.
Cheque Printing
1. Once the Cheque Book has been defined and a proper Cheque Design has been assigned to it, the user is now ready to start printing on the cheque leaf.
Need more help with this?
ChequeMan - Support


