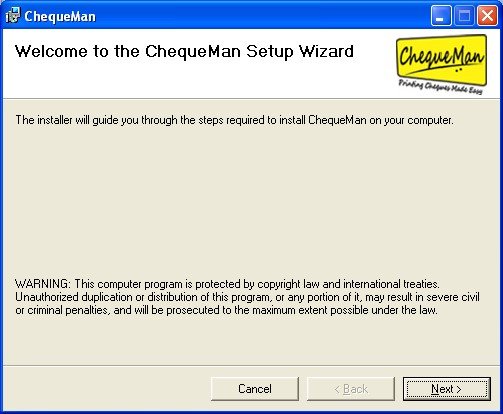
ChequeMan operates on the .NET framework of Microsoft. If the system already has the .NET framework in place, ChequeMan installs directly, otherwise, the .NET framework and its components are installed followed by the installation of ChequeMan. To install the software insert the ChequeMan CD in your PC. Double click on setup file.
The following screen will be displayed:-
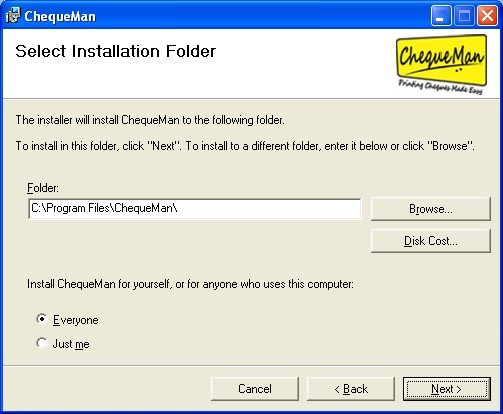
Click on button to get the following interface where you can view the default folder in which ChequeMan software will be installed.
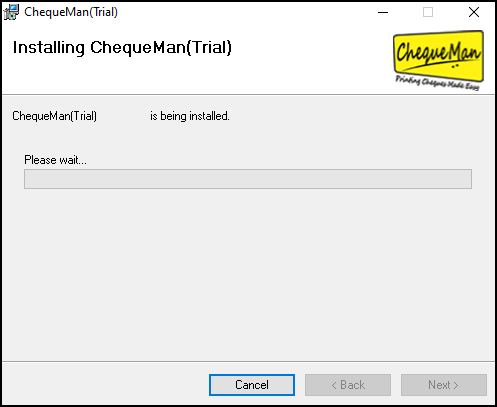
Use the Browse button in case you want to change the installation folder. Before installing, if desired, click on Disk Cost button to know the availability of the disk space on your system. After you have selected the destination folder click on the next button to start the installation process
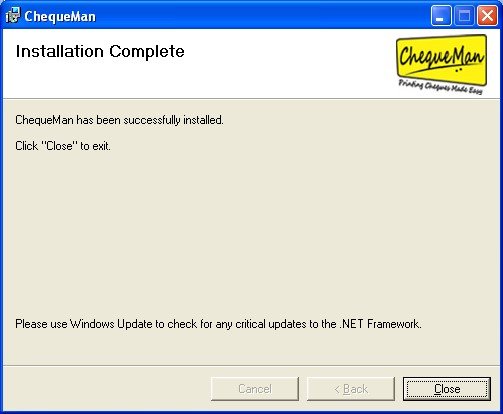
following is displayed:
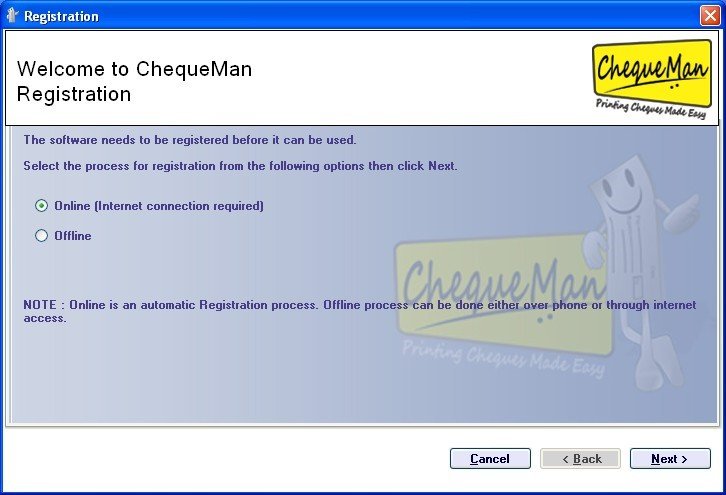
Click on Close button to exit the installation. Click on the software icon created on the Desktop to launch the software. The software needs to be registered with PDS Infotech (P) Ltd. before one can start using the same. For ChequeMan registration you will get the following interface:
Registration of the software can be done by one of the following ways:
- Online (internet connection required)
- Offline
Each process is explained below:
ONLINE REGISTRATION
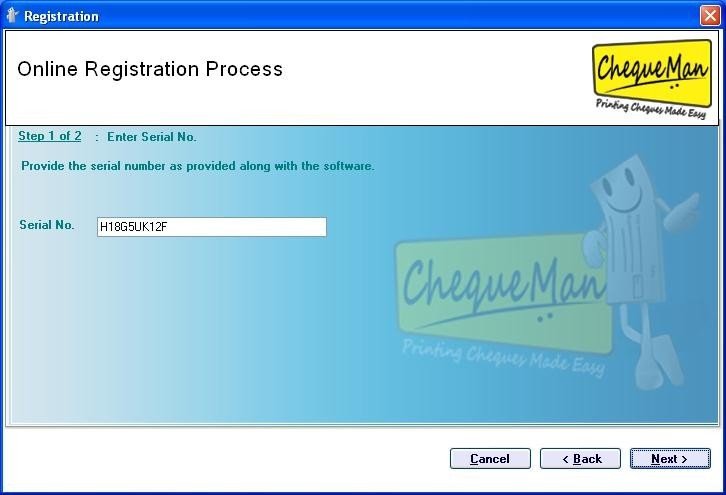
Select ‘Online’ on the above interface and click on button. The following interface is displayed:
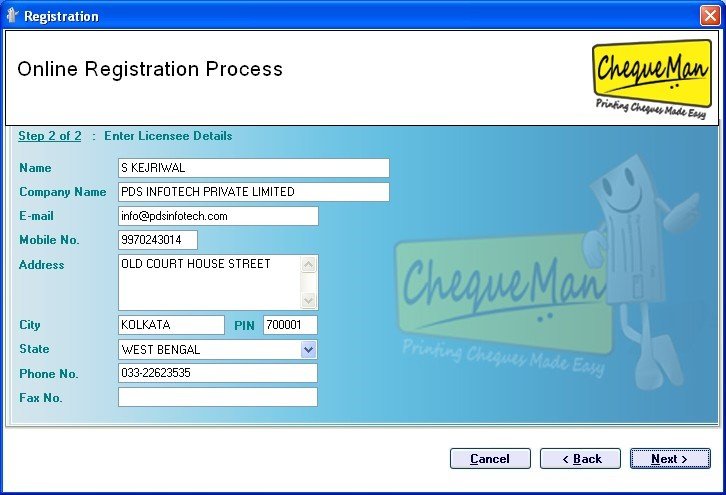
Enter the Serial Number provided to you along with the software package and then click to proceed. On entering the valid serial number, you get the following interface:
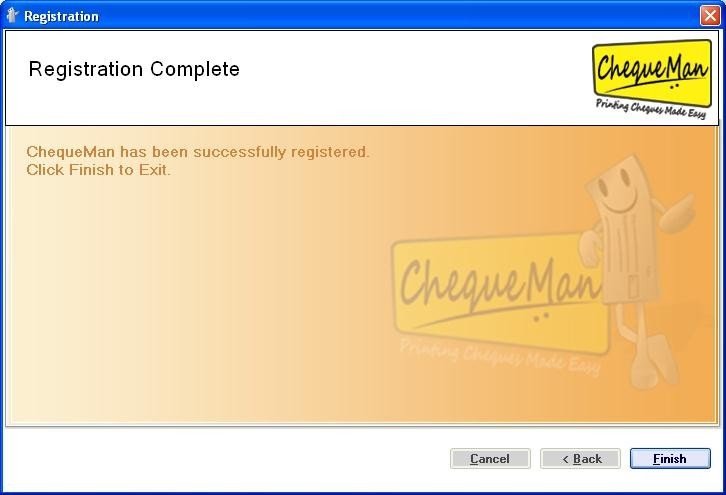
Provide your details and click to proceed and complete the registration process. You will get the following confirmation screen where you have to select button to exit the registration process:
OFFLINE REGISTRATION
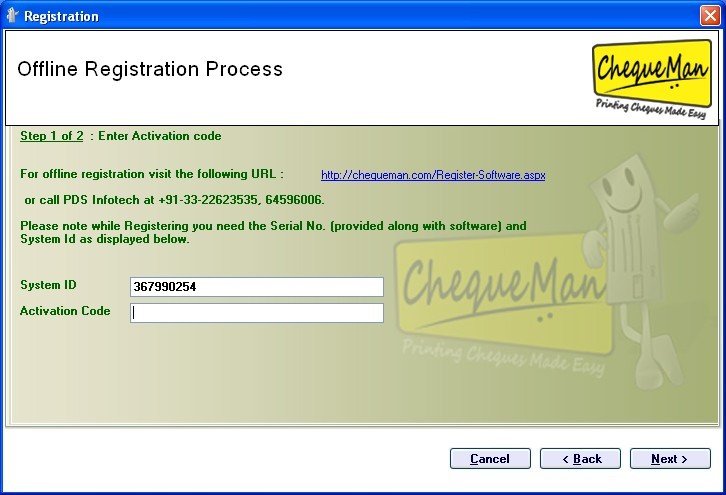
Select ‘Offline’ on the above interface and click on button. The following interface is displayed:
The identification of your computer system is displayed. You will need the Activation Code for completing the registration. You can get this either by visiting our website (as per the web address mentioned on the interface) by filling up a web form with the requisite details or by calling our Helpdesk. You will need the Serial No. (as provided along with the software package) and the ‘System ID’ as displayed above while filling the web form.
The Activation Code will be made available which needs to be entered in the form above. Click on
button to proceed.
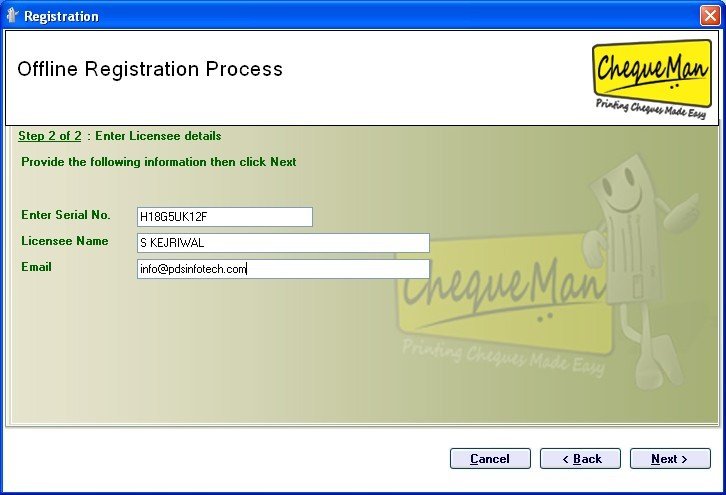
If the Activation Code is correctly keyed in, following interface will be displayed:
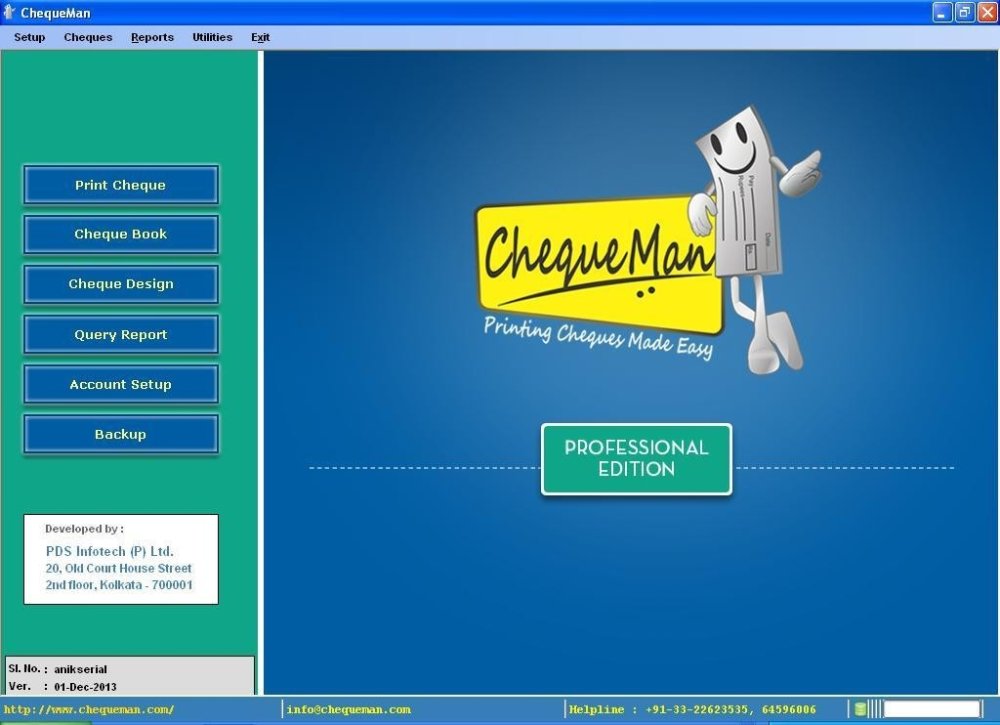
In the above interface, you will have to enter the Serial No. (Provided along with then software package), User Name and Email. Click on button to complete the offline installation process. After successful installation and registration, the following start up screen will be displayed.
Need more help with this?
ChequeMan - Support

